Saturday, February 27, 2016

Hop Hop Hop on Over ...


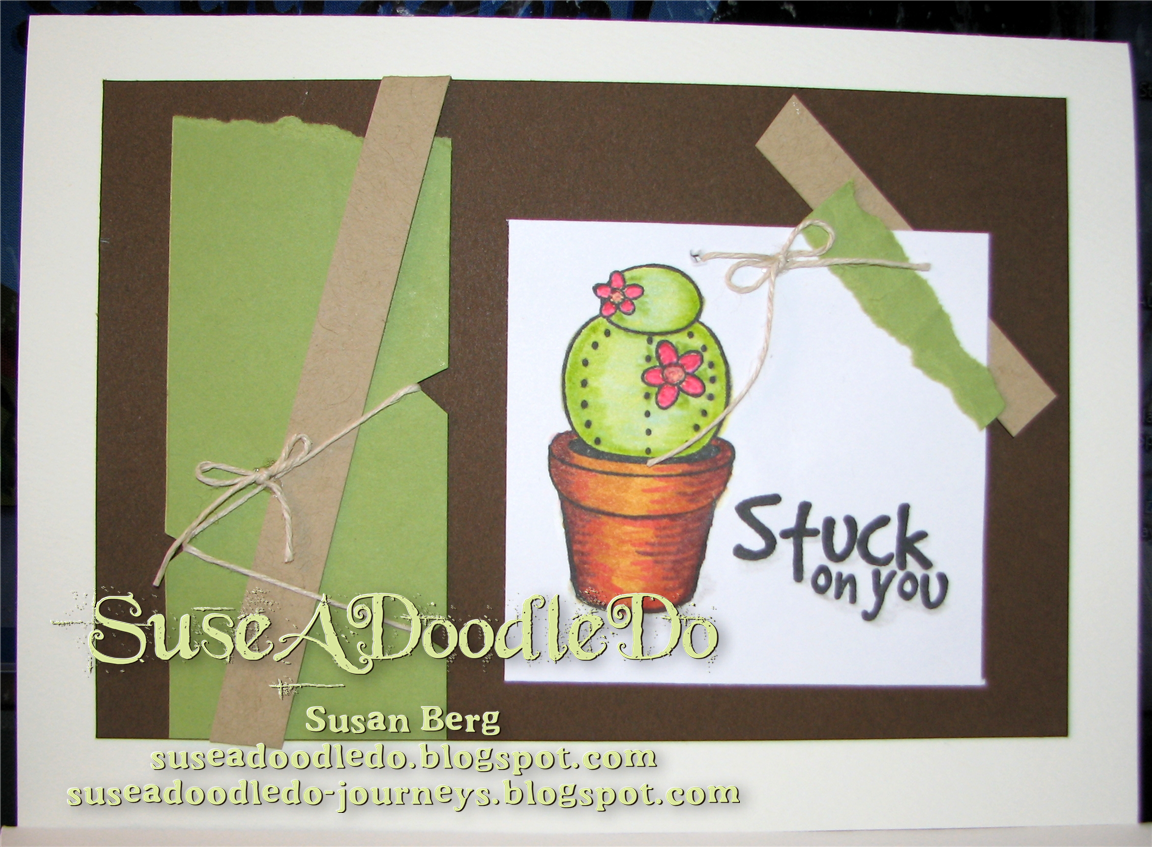
Over at one of my other blogs (SuseADoodleDo-Journeys), the panel on the card above was featured as part of a Blog Hop.  It was the first Hop to be hosted by members of Journey Blog Hoppers, a Facebook group for Fun Stampers Journey Coaches who want to participate in blog hops.  It was a lot of fun;  it still is!  You can visit the posts any time -- the full list of participants can be found here.  More hops are coming soon!  (Info to follow lower down the post ...)

The card that the panel is mounted on is a Strathmore Creative Card in Palm Beach White (really a very nice light creamy color).  The panel used inside the card will be revealed as part of a "mini" Blog Hop on Monday, February 29, 2016.  (Mini means just 3 people decided to play along this time -- still lots of fun.  Stop by SuseADoodleDo-Journeys to follow the lily pad stops for that mini hop.  I'm looking forward to the other two projects.  :D

Letters for My Friends ...

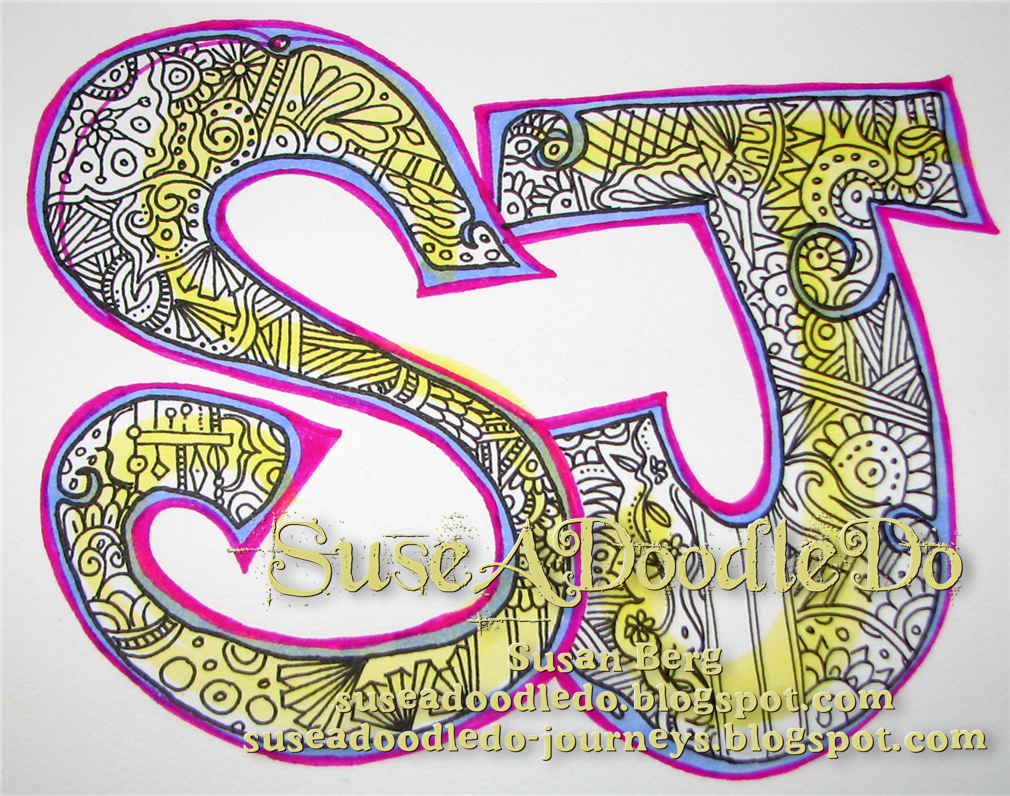
The card is heading off to a friend who placed an order and here are a few of the steps of doing up the envelope:


I'm thinking I may need to go back and color in the inside of the letters fully with the yellow Spectrum Noir (CT1) -- it was originally used as just a suggestion of where to place the larger letters ... What do you think?  :-D
Also, I find the pink Flair I used to draw the initial letter is just too bright -- next time I will not use that color!

Visit the Hops!

Sorry, no beer along the way -- I don't like the flavor of hops!  **shudder**  LOL!
Well, one of the other bloggers may offer you one, since the next regular hop starts so close to St. Patrick's Day, but that is up to them ;-D

I already mentioned the Mini Hop that starts on Monday.  The theme is "Limited / Unlimited."  This is a very short hop with three participants but should be fun.  (The link won't be active until Monday.)

The next regular Hop from the Journey Blog Hoppers will be the March Hop with the theme "Spring Blooms."  Check back here or at SuseADoodleDo-Journeys for further information.  It will go live on March 13, 2016.

Let me know what you think about coloring in the letters further.  Commenters who leave a comment by March 18, 2016, will be entered into a random (Thanks, "Mr Random") for a small gift from me ... :D  The card will be mailed out before then but I do want to know what you think so I know for the next time.

Thanks for visiting and "Have A Good One!"


Friday, February 26, 2016

ILLUSTRATION FRIDAY -- Village

Rarely do I open up the weekly email announcing the week's theme for Illustration Friday ... for a while now, the themes have been vague and not concrete enough for me deal with.  I used to gladly and happily and gleefully think out abstract concepts to find fun and interesting ways to "illustrate" them (usually, though, in the past I've done that through words not through art ...) ... Lately, I get overwhelmed by the whole idea of disentangling abstract concepts into something I can illustrate visually.

This week's theme was an easy one -- one I will play with all week, I think!  :D

VILLAGE

My old doodle style that I thought I would use is really a City -- not really appropriate.  I'll "do" City another time.

Here is my quickie-doodle for the theme, Village --


There was this piece of "scratch cardstock" on my desk and a dark Flair pen ... and a box of 24 Prismacolor Premiere colored pencils nearby ... and the Flip-Pal to scan it.

Eh, so it is a doodle and not a real illustration or piece of artwork.  Yet, that is the beauty of the Internet -- I used to think I should post only "perfect" pieces.  Then I began to travel around YouTube and various Facebook pages and even blogs AND discovered "Fearless Sharers" -- people who share what they do without fear;  I decided I wanted to be among them.  LOL!

To get involved, visit Illustration Friday -- be sure to sign up for their newsletter so you can get the weekly theme emailed to you.

Let me know if you join in this week and post your submission to Illustration Friday -- so I can go visit your work to give ya a bit of artistic love in return.  Have a great one!

Friday, January 15, 2016

Another Card ... presented by Kitty & Jake


Jake and Kitty thought you might enjoy seeing this card that is on my desk waiting for me to get the wording right inside and then get it into an envelope and sent off -- it is already late and getting later.  UGH!

However, when I found out that Star Wars characters might be "acceptable" on a card for young boy, I quickly dug out a couple of WalMart ads that I had grabbed just before Christmas but still had laying around here last weekend ... and surely there was a spread of Star Wars toys.  Yoda is holding a light saber, of course, but ...

Years ago I used to use a batik design set of Stampin' Up! stamps to "all-over" stamp a bit of card stock that I would then color with colored pencils or markers  in an ombre / variegated way -- that is start with one color in the middle and then color the next color so they edges overlapped until the rectangle is filled in.  Then cut the card stock into candles.  As I wrote in the previous post -- most of my supplies are still in cardboard boxes from our recent move -- and I don't know when things will get unpacked.  ** sigh **

Not too long ago I saw a YouTube video showcasing the MISTI (I'll write a post about that real soon, I hope) and then I found out about a way to "make your own" MISTI ... watched that video and decided to try .  When I ordered the supplies, I also got a set of stamps and used these to decorate the card stock rectangle I used to make my candles.  The blue and green colored pencils I used to color the candles does not show up well in the photo of the card.

The set of stamps I used can be gotten through Crafters' Companion (click on link in right column).  It is Set 7 from Stamp-It Australia, called Imagine. 

The moon (or whatever you want to call the circle behind Yoda) was colored in with eye shadows in dark tones and a small touch of a blue Stampin' Up! chalk (sorry, I don't know which color it is -- it is from a set I got a few years back of the "new" colors at that time ...).  I used a spritz of homemade "spritz" on the card itself -- green might not have been the best choice but it does work.  Basically, the homemade spritz is a mini mister (the ones I am currently using are from Close to My Heart) 3/4 filled with water and then colored with drops of reinker.  The green was a mix of OLD Stampin' Up reinkers -- as in "old" from maybe 12 years ago or so back ...

I had put "Happy Birthday" (hand drawn) inside but then hubby said it should sound like Yoda is saying it.  ** sigh **  Trying to figure out best Yoda-sounding way to convey belated birthday wishes then get it mailed.

Jake & Kitty and Jake's Uncle say "Thanks A Bunch!"


This morning I logged in over at Facebook ...
I can go days (maybe even weeks) without visiting Facebook or I can find myself visiting there daily or even more than once a day.  ** sigh **  What a VAMPIRE of time.  LOL!
Well, I ended up visiting the pages of FB Friends that I have not gotten posts from recently thanks to Facebook's algorithms that make no sense to me ... one of the pages I visited was https://www.facebook.com/drphilscraps/
Dr. Phil's "scraps" page features his Close To My Heart business.  There I found out about his giveaway of a free stamp -- today is the deadline.  Make a card or item using Close to My Heart products, put it on your blog, mention him and then send him the post's internet address along with my snail mail address ... so here I am ... [Just a little bit more about Dr. Phil -- he is creative, a musician, a true "doctor " (PhD) and also knows a lot about DoTerra oils ... pay him a visit!]

We moved recently and most of the stuff is STILL in boxes and the unboxing is not really planned as we have not resolved the storage issues of moving from a house to a trailer ...
I thought I had two of my CTMH sets of stamps nearby -- I just love the paisley set and use it as often as I can, even if only to decorate envelopes using a light color of stamping ink.  And the Uniquely You set (which is actually titled "A Flowering Bunch" S1306) that was a Stamp of the Month set a couple of years ago.

Couldn't locate the paisleys (bummer) and sat down with the A Flowering Bunch set to make a card.  There are 7 birthdays on my list for January and I am already late on three of them ** sigh **!  I thought I would be making a birthday card ...

Instead, I ended up with this Thank You card.  Once I got to work, I decided I really liked that sentiment stamp in the set and had to use it.  What else did I use to make this easy card?

Well, like I said, most of my supplies are packed in boxes and I have no idea when they will get unpacked ... so I have to use what I can find.  For some reason, a packet of expired Close To My Heart catalogs sits nearby.  I had been looking through one of the catalogs for card inspirations a couple of days ago -- you know, ideas for those 7 birthday cards ... and decided I would treat it like it was a magazine.  So I hope that what I did is not some kind of infringement of copyright ... I often chop up magazines to use the images in some project ...

I found a delightful page where the artist had used either a punch or the Cricut to cut out lots and lots of butterflies in the colors of CTMH cardstocks, made a mobile of them and this was an out-of-focus background on one the pages of the catalog.  From this I have die cut some circles and used them in the background of a couple of cards so far.

The stem is stamped direct to the panel using CTMH "Pear" ink;  I gently bent the polymer stamp before I put it on the acrylic stamping block so the green of the stem would not overlap the same green used for the sentiment.  For the Flower, I used a mini mister from Close to My Heart that I filled 3/4 with water and added three or four drops of CTMH "Cotton Candy" reinker to;  spritzed it on white cardstock and then stamped the tulip image using CTMH "Hollyhock" stamping ink.

Dr Phil announced at his FB Page and in his blog that CTMH now carries some dies that coordinate with sets.  WOO HOO!  Love that!  There is one set that looks really useful -- a floral and the die set also includes dies for the flowers and some of the leaves in the stamps set ...  ** wiggles eyebrows **  These are on my wish list for sure!
However, the circle die I used today is from a Hero Arts "My Monthly Hero" kit from November 2015.  That is the best info I can give you on that set -- there is no name on the packaging for the stamp set or the coordinating dies!  DUH-mb!  (oops -- did I really say that??)  The "Circle" however is really an ornament or terrarium or ... I cut off the curlicue at the top to make it a circle.

And the card itself is one of Cheap Joe's card sets -- this one is watercolor paper and comes with watercolor panels -- so you can paint on the panel and if you mess it up, you can flip the panel, use the other side and not mess up the card itself.  Usually, for stamped cards, I use Strathmore photo-mount cards that have an embossed design on front with an area just large enough for a 4"x6" photo or card front/panel.  Like I said, lots of supplies are still in the cardboard boxes ... so I used the cards I could find.  I like these deckle-edged cards from Cheap Joe's -- the Cheap Joe's Goof-Proof Blank Greeting Cards are great!

It is an easy card to make and perhaps will find itself being made again ... or as close as I can get to "CASE"ing myself!  (C.A.S.E. comes from the crafter's lexicon meaning "Copy And Steal Everything" -- I treat it more like "Take Inspiration From This" because I find it hard to copy / duplicate even things I have stamped or made!  LOL!

Check out Dr. Phil Scraps over at Facebook, at his blog (http://drphilscraps.com) and shop with him at http://drphil.ctmh.com

And have a wonderful time being creative!


Friday, November 6, 2015

Some of Today's "Fun Stuff" -- LOL!


Sheep On The hill
Sorry that today's photo isn't of good quality.  It was taken too late in the day, a couple of days ago, while being a passenger in a vehicle going at the speed limit ... and I was actually shooting the sheep on the hill.

One of these days I will get around to taking it into the graphics program and "correcting" the contrast and at least making it look less hazy.  Then maybe we can turn it into a piece of art -- maybe extract some of it for a small watercolor painting or a colored pencil drawing.  If I knew where my soft pastels and small pad of pastel paper could be found in the melee around here, I might even consider doing a small pastel.  WARNING:  It has been years and years since I actually did any pastel work -- I think that was back when I took a few art classes at the community college near where I lived.  I enjoyed working with pastels, though, and now I wonder why I did not continue with them ... Hmmm ...

Today's Music at [free] Spotify -->  The Piano Guys - A Family Christmas
If you are not familiar with The Piano Guys, find them at YouTube and be prepared to enjoy ...

Yes, Christmas music ...
Earlier I was watching a YouTube video and the background music was instrumental Christmas music and since it is November, and I am in the mood to be working on Christmas cards or small gifts, it seemed like it might be okay to go find something "festive" to listen to ... (I don't include that video here but it is one from Sandy Allnock showing how she uses Copic markers to color in a set of Christmas ornaments.  Here are the other two videos I did watch:)

Here is one of the YouTube videos I watched (not the Christmas themed one -- this one is a bit more "timely" in that the paint kit used is available for a very limited time and is an awesome deal!)


This video from Sandy Allnock is fun but the kit is no longer available.  However, the technique she uses is one you can apply to other projects:


You may want to check out the Hero Arts November kit -- it is still available on November 6th, 2015, but who knows how much longer it will be available ... It looks pretty cool and includes stamps, dies and some Flower Soft flock;  there is a separate die set that also coordinates with the kit.  Actually, it is shown at the end of Sandy's video on coloring the Glass Ornaments ...

Okay, so on to something for today besides two videos to check out ...

Hmmm ... As I look around, you know, there isn't anything on the desk or in the vicinity to share today ... soon I will be sharing a piece of art that is "in progress" right now ... but in the meantime, enjoy the work of other talented artists (as in, watch Lindsey and Sandy in their YouTube videos ...)
and have a wonderful "one" (day, evening, etc ...)

OH DRATS!  I missed this morning's Speed Scrap over at GoDigitalScrapbooking.com in celebration of Digital Scrapping Day!  But I think I may have 24 hours to actually complete and upload the page ... come on over and play along!!!
Just checked it out -- Monday night is the deadline!  Lots of fun activities over there.  Come join us!!!


.

Thursday, June 4, 2015

New Month of "Challenges" Awaits ...

It's early June and the perfect time to start digital scrapbooking (if you don't already).  If you are already a digi-scrapper, come join me and lots of others at GoDigitalScrapbooking, in the forums, for the scrapping challenges this month.

This is one of the pages I did for the May Challenges.  It was a simple page and lots of fun to create.  All of the challenges were fun (though I found one or two a little "challenging"  LOL!) ...

I use StoryBook Creator (originally from Creative Memories) to create my pages.  An updated version is available from Panstoria with a few features that my software does not include.  If you want to start digital scrapping, there are lots of software programs available;  some are even free.  I've tried quite a few and because I was already familiar with StoryBook Creator and its features, I decided that is the best program around.  However, some of the free programs are very good too.

If you want to know more about the programs available, I will be putting together a post about the variety that are available.  In the meantime, feel free to ask questions in the comments section below.

Happy Scrappin'!